


Posting High Resolution Photos to Social Media
I fully admit that I am a super-fan of social media, and I’m sure many of you are too. We live in this crazy-connected world, and I think it’s done wonders for the photography industry who can provide you with great images to splash on your pages. However, as I see more and more folks engage with professional photographers, I also see more instances of pixel-heavy or grainy versions of beautiful work put out by fellow photographers. This is annoying, not just as a photographer who wants to display their best work, but also for customers who should learn how to take full advantage of the wonderful images they have!
So, without further ado, here is my process for uploading high resolution or high quality photos onto social media platforms.
How to upload an eye-catching new profile photo on Facebook:
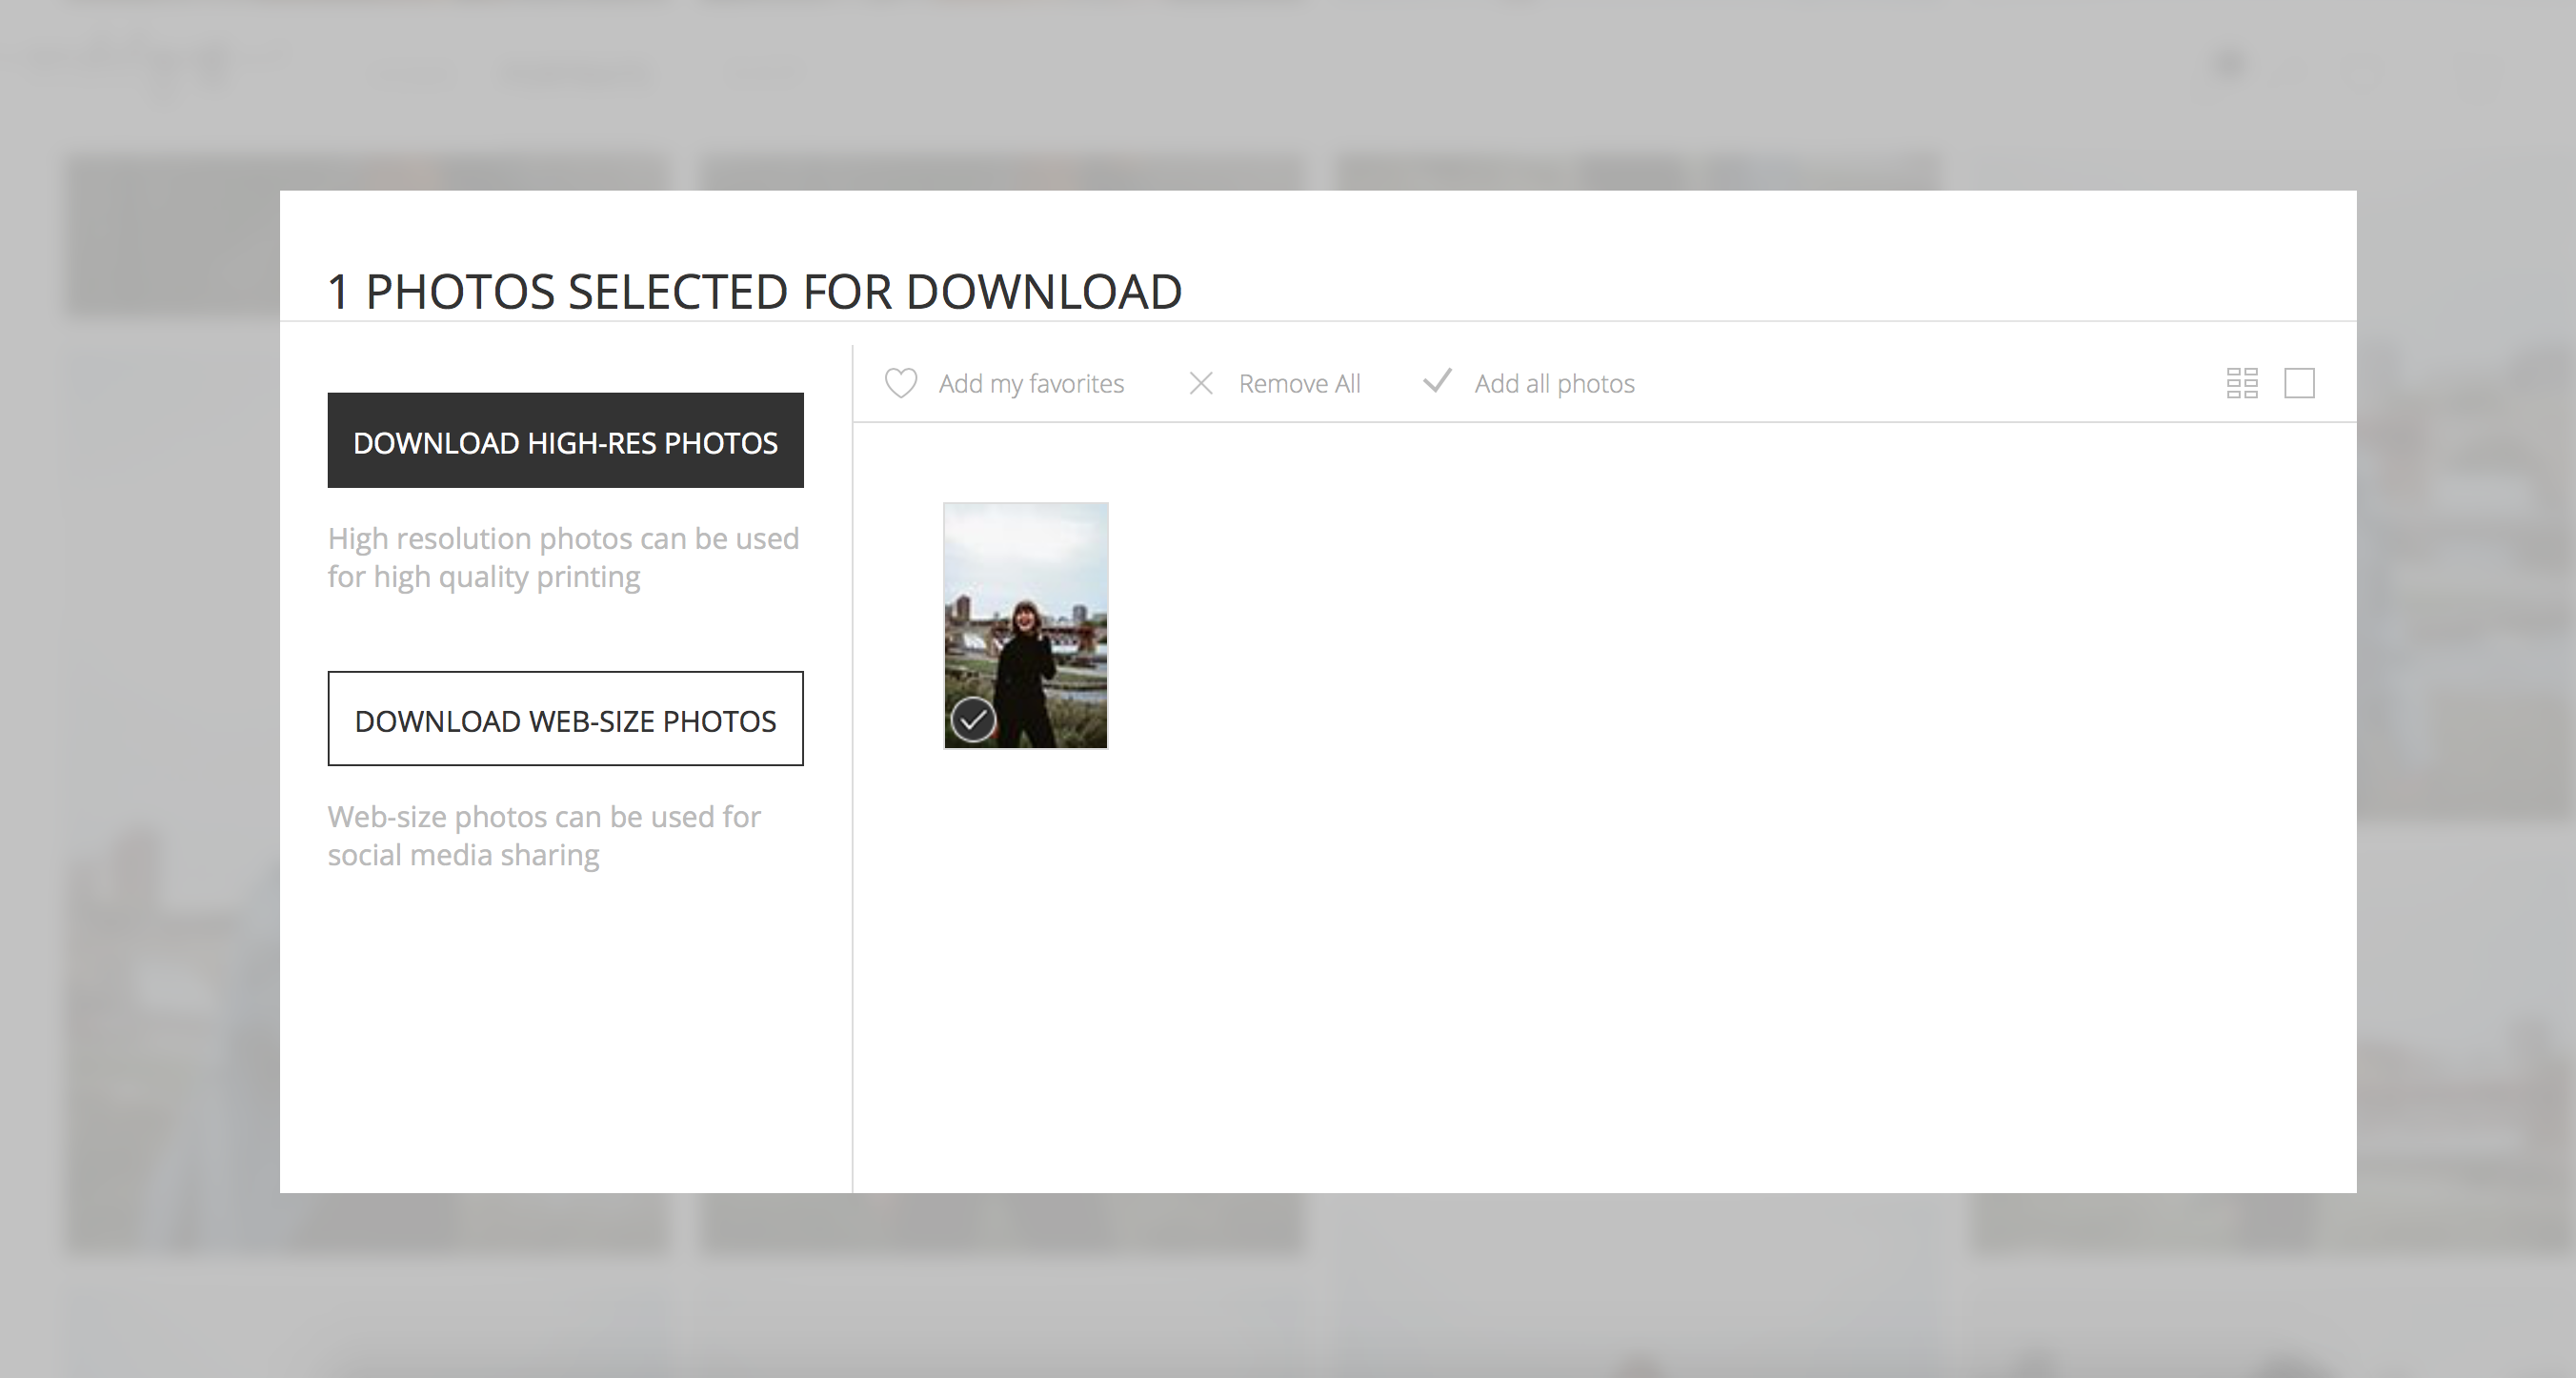
- Download the full-size image! Make sure to use the image in its full resolution. PASS, the program I use to send my photos back to clients, always has 2 options for download: Full-Size or Hi-Res or Web Size. While it seems like web size would be the choice for posting on social media, I personally always have better luck with the full-size. Either would be fine for blogging or Facebook, though.
- Upload to Facebook. Click Update Profile Picture on Facebook and upload the file.
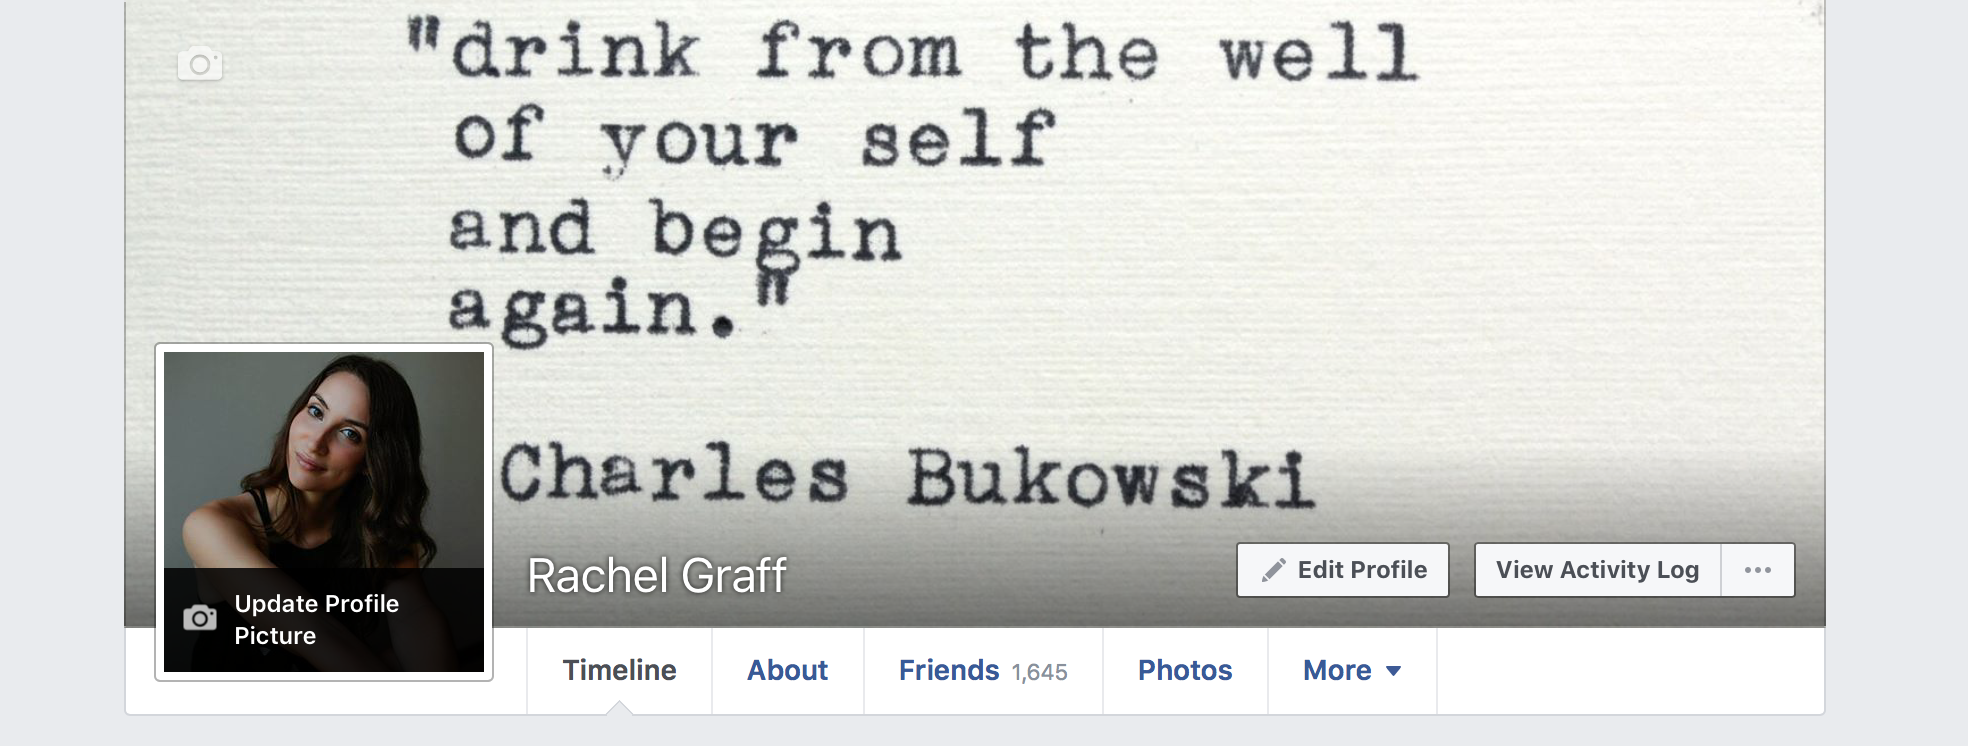
- Skip Cropping! This is the most important step, because cropping an already web-sized photo more will cause blurriness and sacrifice quality. You also may lose the composition and framing your photographer worked so hard to capture! Remember, your profile photo doesn’t have to be a square!
- Set square mask. Drag the slider to choose the position and zoom of your Facebook icon. This is just the square that will display on your profile page or next to your comments on others’ posts. This is NOT the same as cropping. It’s just a “mask” of how the non-square photo will show in a square frame.
- Save photo. Click Save.
- Let the likes roll in!
Bonus tip: Facebook compresses your photos when you upload them to keep file sizes/storage low. Using a .PNG file instead of .JPG stops Facebook from being able to compress the photo, keeping the quality high!
Hope this helps, everyone! No more grainy, pixely profile pictures!


leave a comment